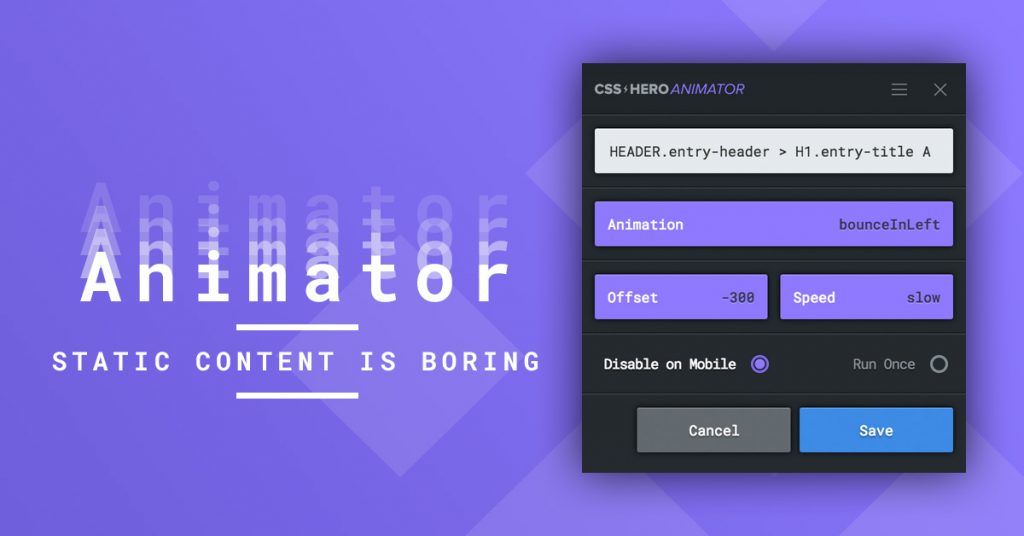
Animations bring life to otherwise static web pages. They create a mood – playful, mysterious, or welcoming. They form a connection between the user actions and the movements on the web page. The fast-developing CSS3 language made animations easier than ever to implement, taking over the clunky Flash animations of the past. CSS animations are fast and lightweight, so they will not slow down a website. To help you animate your website easily and without having to learn code, we just released a WordPress CSS animation plugin – CSS Hero Animator. This plugin is a point-and-click tool to effortlessly apply CSS animations to your WordPress sites, without coding. The best part? We offer Animator for FREE. Try it today to create some captivating effects for your site!
The video below will give you a glimpse of how easy and intuitive Animator is; further, you will find the detailed review of the plugin’s features.
Using our new WordPress CSS animation plugin
Getting started with Animator is super-simple. Download it for free here, and go through the normal plugin installation process: Plugins – Add new – upload the Animator plugin file – Activate.
Once you do that, you will see the Animator link on your WordPress toolbar. Click on it to open the plugin interface window. If you are already using our CSS Hero plugin to customize your WordPress theme, the two windows will run simultaneously, on different sides of the screen, although you can drag them around and position in a way that works for you.

Launch the Animator
Next, point and click on the element you want to animate.
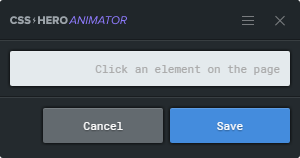
Click an element to animate it with CSS Hero Animator
Once you picked an object, a list of 28 animation effects will show up. CSS Hero Animator is based on CSS3 Animate It library and offers many cool animations: bounce, fade, flip, pulse, rotate, shake, wiggle and more. As you can see on the screenshot below, Animator has a very simple interface, with the drop-down lists for animation effects, offset and speed, and two switches – “Disable on Mobile” and “Run Once.”
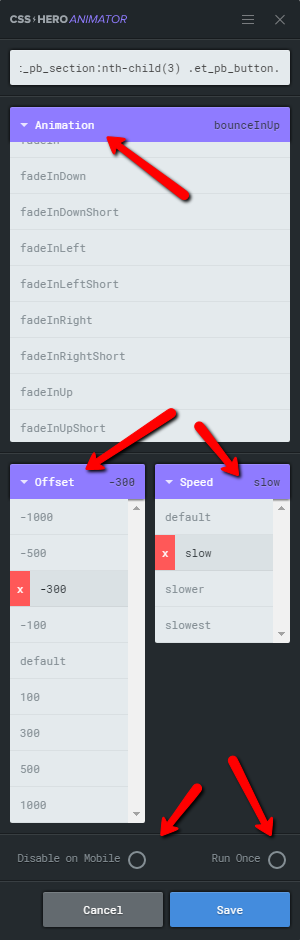
CSS Hero Animator Interface
Animation effects
When selecting CSS animations for your website, keep in mind that they should serve as the means to the goal and not be the goal itself. You want animations to improve user experience, provide guidance or feedback, or enhance the aesthetic of the page. For example, ShakeUp or GrowIn effects will attract attention to your call to action buttons, serving the purpose of increasing conversions. BounceInLeft and BounceInRight work great to create a fluid narrative as a user scrolls down, and new information appears on the screen.
Depending on your brand and audience, you may want to use bold or subtle animation effects and more or fewer of them. If your brand is playful and energetic, your audience might enjoy elements rotating and wiggling on the screen. If you lean to the serious side, more subtle effects such as FadeIn or Pulse might work better with your tribe.
Offset
This setting controls when the animation starts. By default, each animation is triggered when its parent element reaches the viewport. The positive or negative offset will make the animation start either before or after it has entered the viewport by the specified amount. For example, if you want to start animating an element only after the user has scrolled 300px past it, specify the offset of -300px. If you want an object to be already in motion when the user scrolls to it, set the positive offset.
The negative offset can help you emphasize certain objects. For example, to draw attention to a call to action button, you could introduce it with animation slightly after the page has loaded. However, for larger elements, such as images, negative offset might not work as well – there would be too much blank space until the animation starts.
Speed
You can choose among 4 different animation speeds: normal (default), slow, slower and slowest. Play with them to see what works best with the particular animation effect and the size of the element you’ve chosen. To keep the physical world analogy, you may want to make the bigger items move slightly slower than the smaller ones. Plus, mixing multiple speeds on the same page creates nice transition effects. Finally, the animation shouldn’t be so slow that it’s annoying, especially for the elements that are frequently used.
Combining animation effects, speed, and offset in different ways is fun and can enhance your website with a truly beautiful flow.
Disable on Mobile
Although CSS animations typically look smooth and load fast on modern mobile devices, sometimes, upon testing your website page load speed and mobile readiness, you may decide not to run some of the animation effects on handheld devices. In that case, simply mark the “Disable on Mobile” option.
Run Once
This switch determines whether the animation will run each time a user reaches its trigger point or just once per page. Keep in mind that even the most delightful animations are not so fun the hundredth time you see them, especially if they slow down key website functions.
Have your potential customers use your website and give you feedback – were they annoyed or intrigued by the animations? Did the animations provide them with any useful information about their interaction with your site? Based on this feedback, you can adjust the number, type and speed of animations, so they work best for your audience and your goals.
Edit your animations after saving them
As always, our CSS Hero team strives to provide you with a safe environment where you can easily revert or adjust your CSS edits. In Animator, you can click on the menu sign at the top right corner to pull up the history of edits.

Access the history of edits in CSS Hero Animator

Edit or delete animations in CSS Hero Animator
Clicking Edit will take you back to the Animator interface where you can change the type of animation for this element, or adjust its other settings.
CSS Hero plugin and Animator plugin
As we mentioned before, Animator and CSS Hero run side by side, and you don’t need the CSS Hero plugin to use the Animator. However, these tools complement each other beautifully. Animator is great for creating on-scroll animations that make the story unfold as the user moves down the page. CSS Hero, aside from giving you control over colors, fonts, and all other CSS properties, helps you create on-hover animations. On-hover animations are crucial for providing feedback and guidance to the user. For example, on-hover effects for links and call to action buttons help emphasize their clickability. If you are interested in on-hover animations, take a look at our tutorial on creating hover effects with CSS Hero.
Use with caution
CSS Hero Animator will be addictive. Just like CSS Hero itself, we should say. At first, you’ll have tons of fun applying the effects all over your website and exploring this jumpy and wiggly new interface. After some testing and feedback, though, you will come to use animations deliberately and judiciously. And that’s where the real power of animation lies, because if everything is animated, then nothing stands out.
Hopefully, the new CSS Hero Animator plugin will help you add an element of surprise and delight to your website, without spending hours buried in code. We would appreciate if you shared this article with your friends or colleagues so they, too, can enjoy this free CSS animation tool.